Skip to content
Dawid Lotz Photography Logo Dawid Lotz Photography Logo
  • Collections
  • Countries
  • The Photographer
  • Visitor Info
  • Store
  • Collections
  • Countries
  • The Photographer
  • Visitor Info
  • Store

Concept to Print to Frame

Concept to Print to Frame
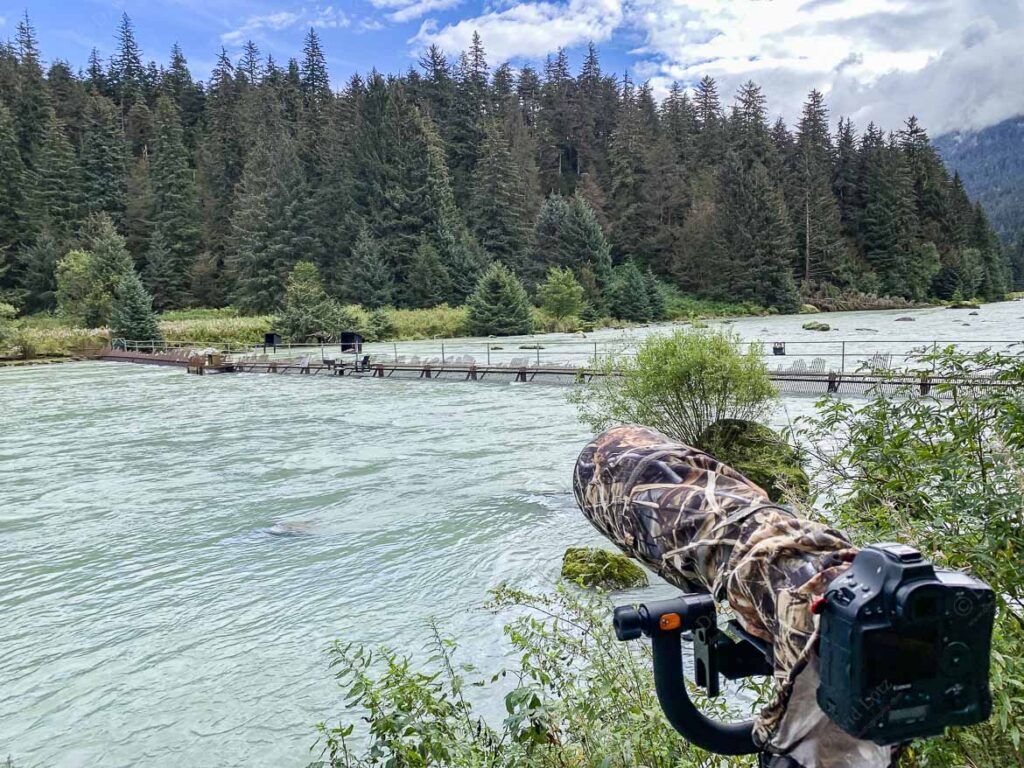
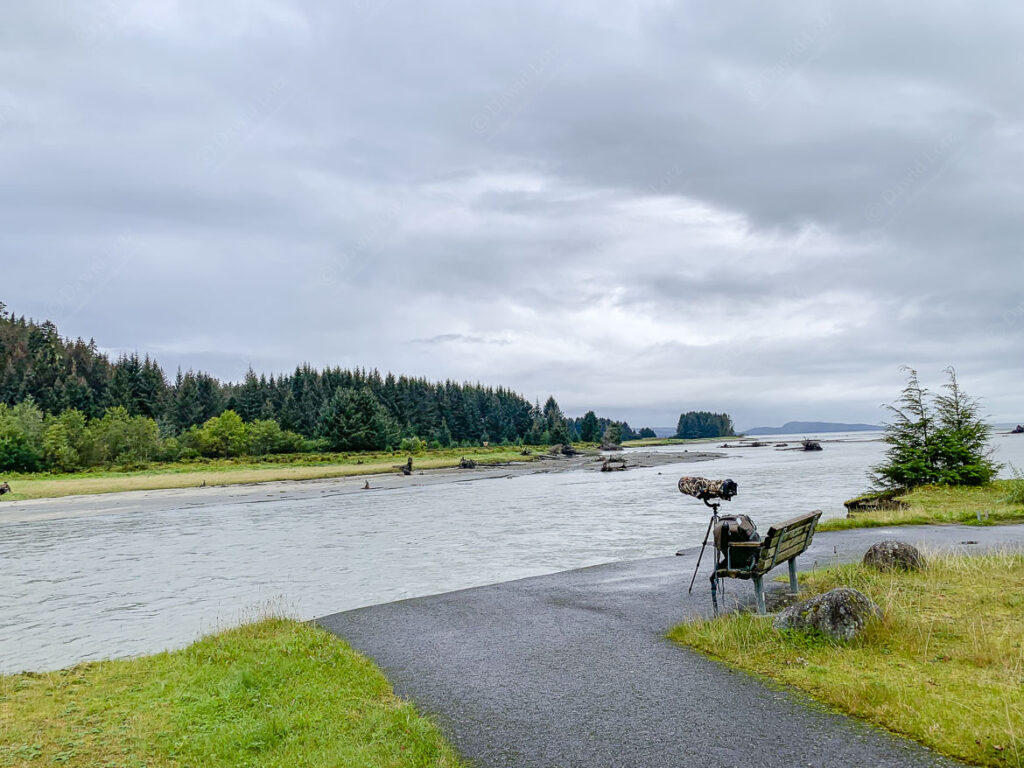
2022 — Setting up to do some black bears Chilkoot river Haines Alaska
2022 — Setting up to do some baldeagle flybys Eagle Beach Juneau Alaska
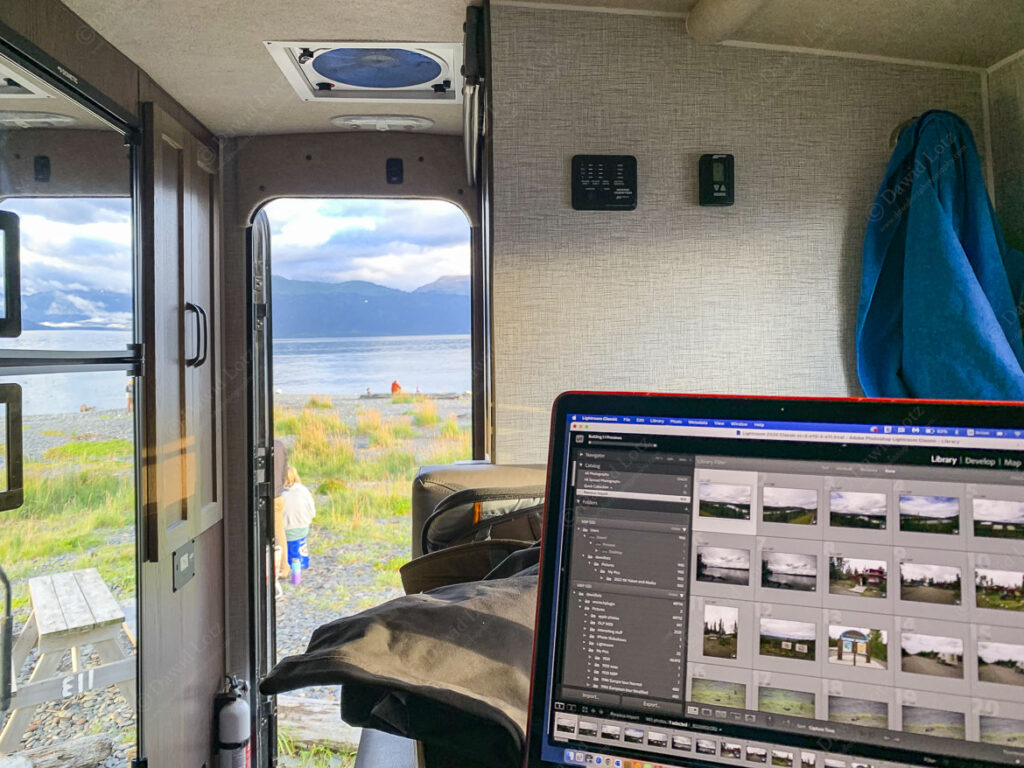
2022 — Editing and backing up Homer Spit Alaska
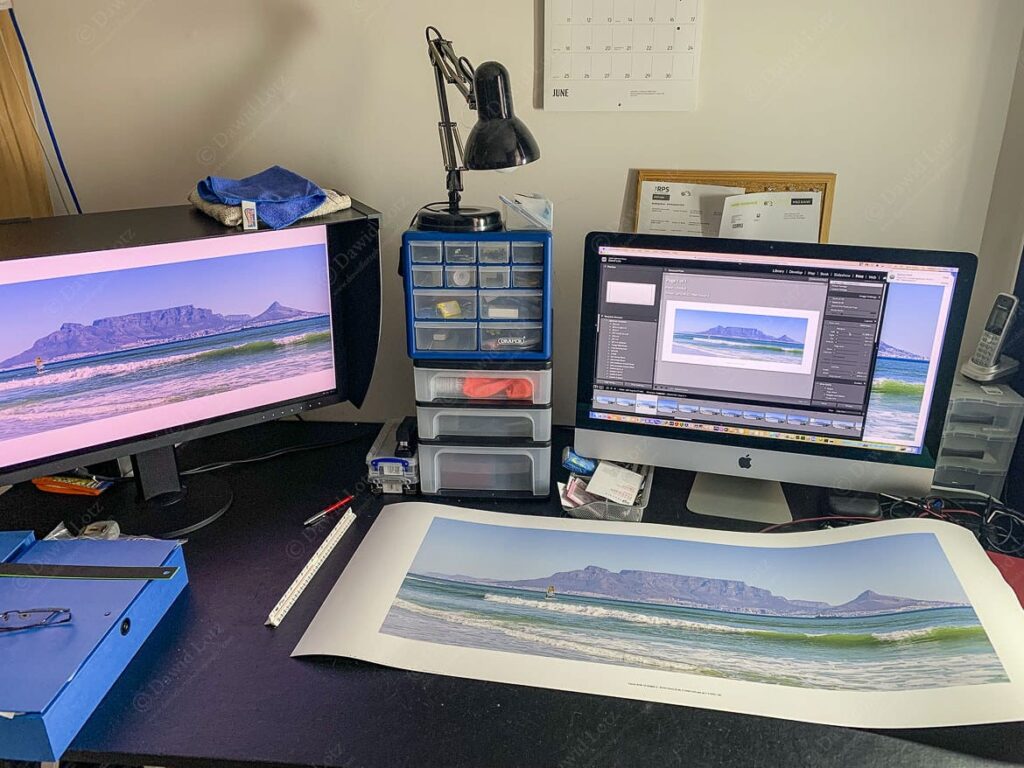
2022 — editing and printing process
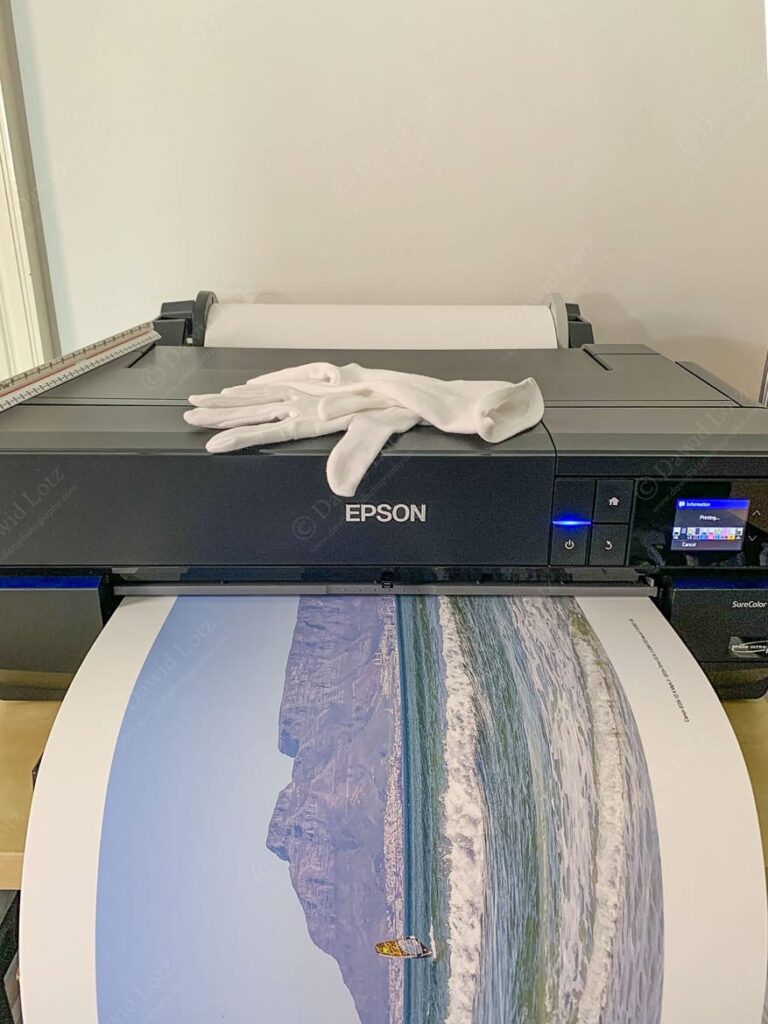
2022 — Hahnemuhle Photorag 308 panoramic 900mm wide printing process
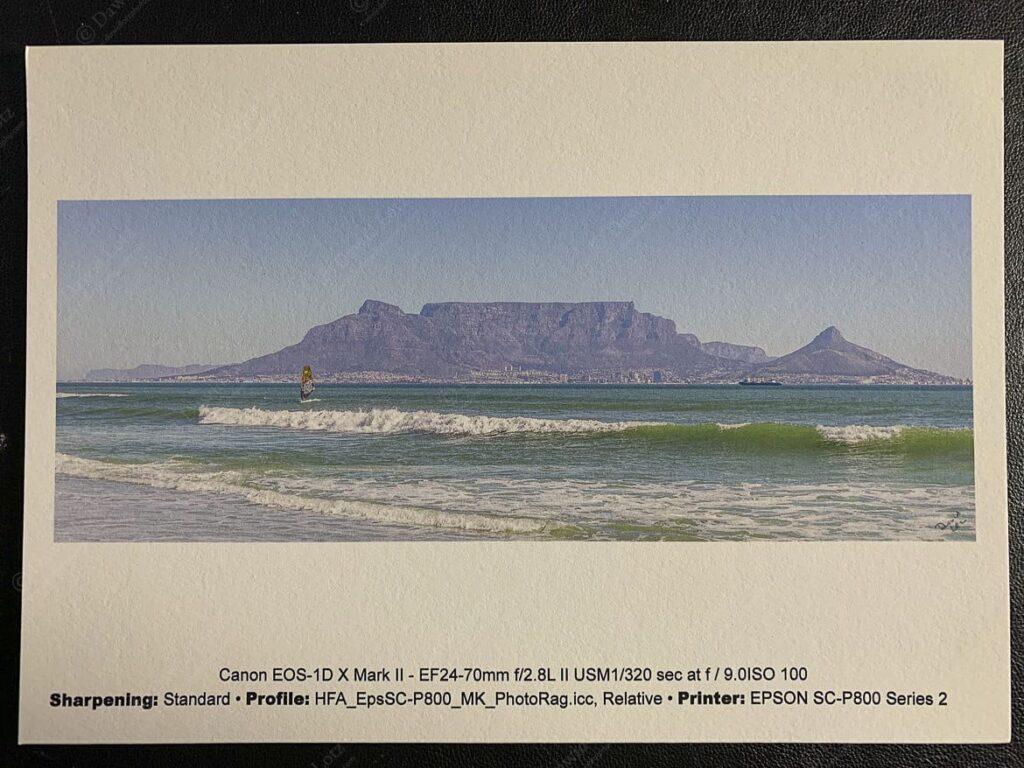
2022 — Hahnemuhle Photorag 308 A5 texture
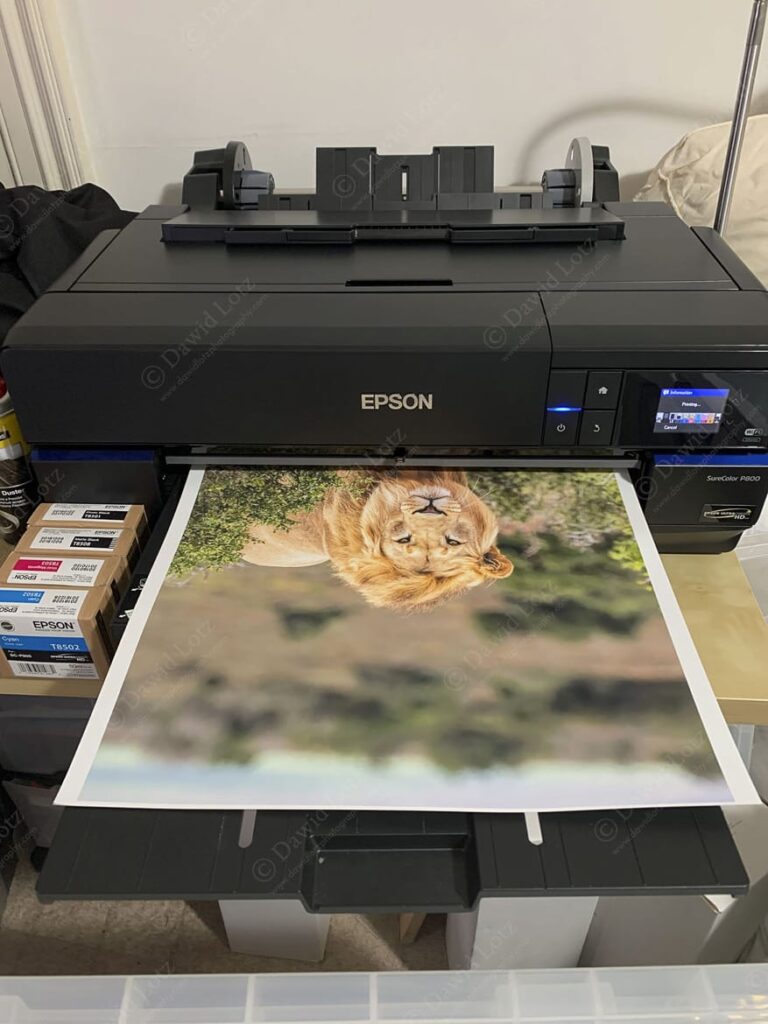
2022 — Lion A2 Printing of hahnemuele Photorag 308
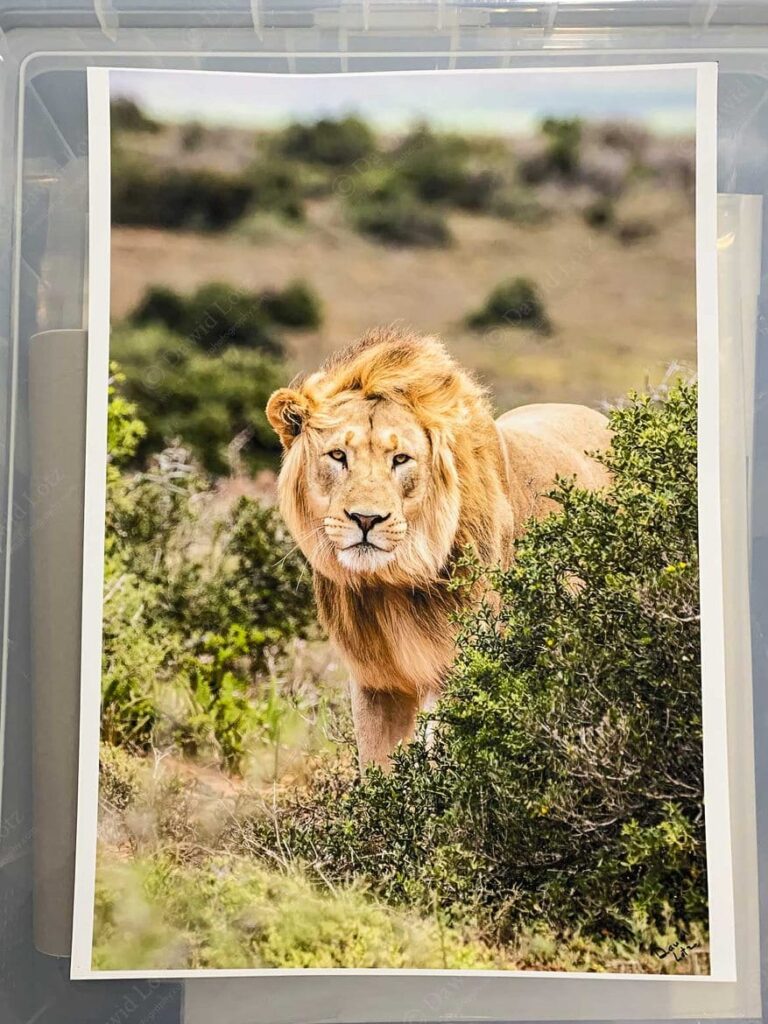
2022 — Lion A2 hahnemuele Photorag 308 completed print for texture and clarity
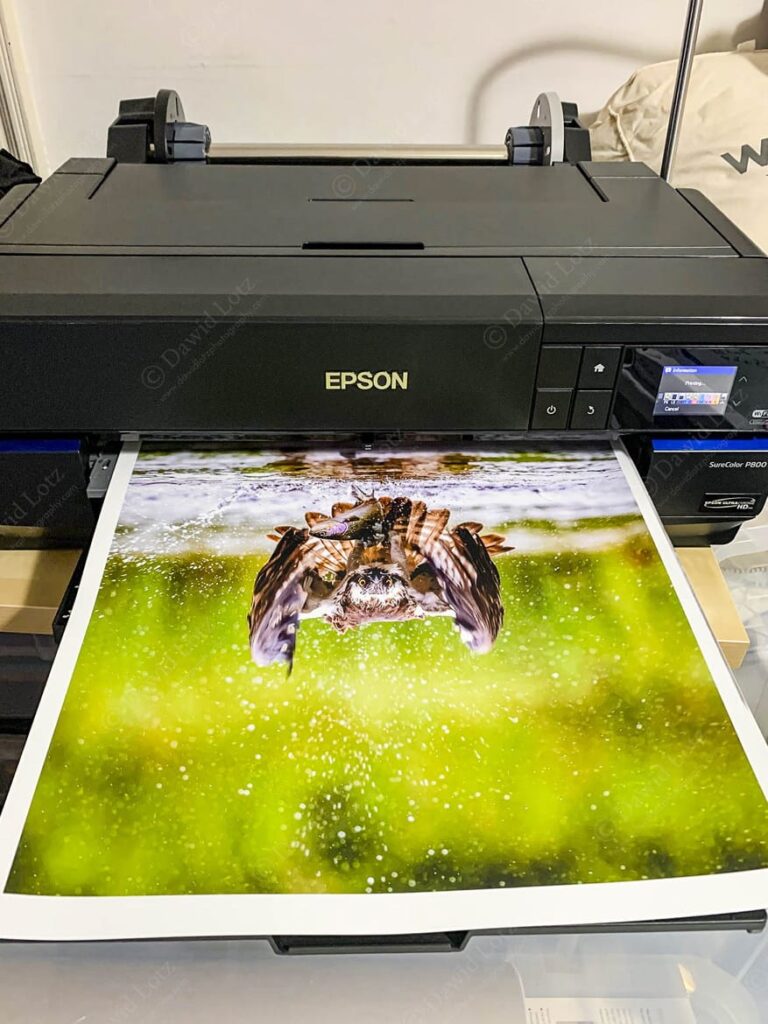
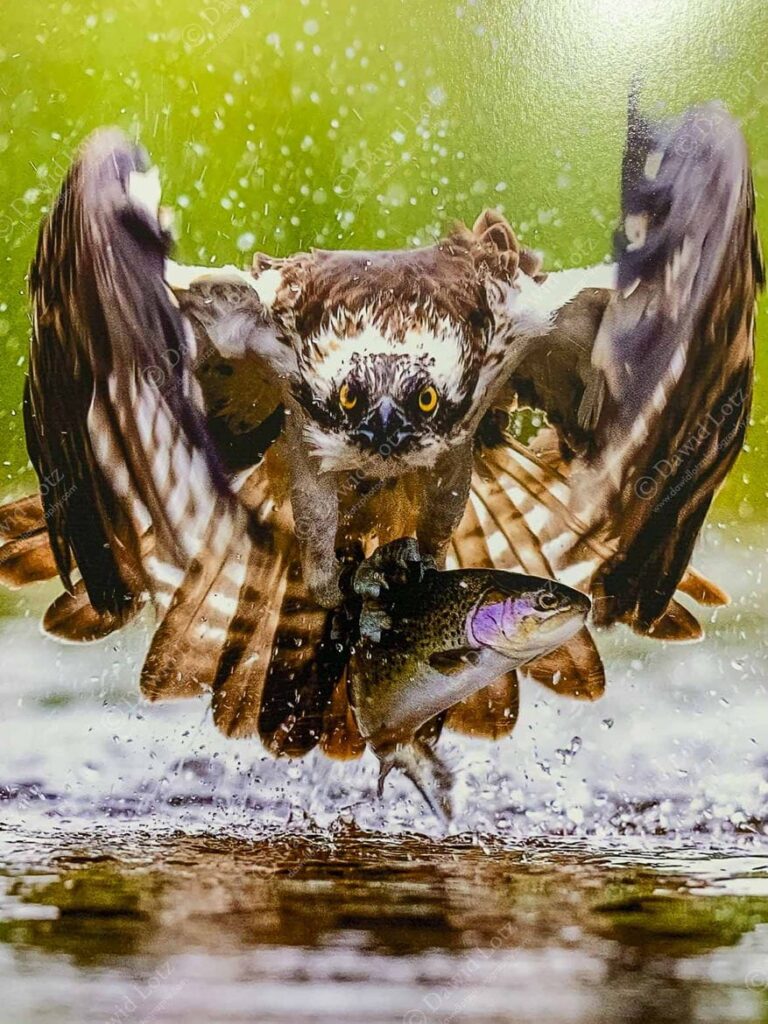
2022 — Osprey with fish A2 Epson Traditional Photo paper 295 printing process
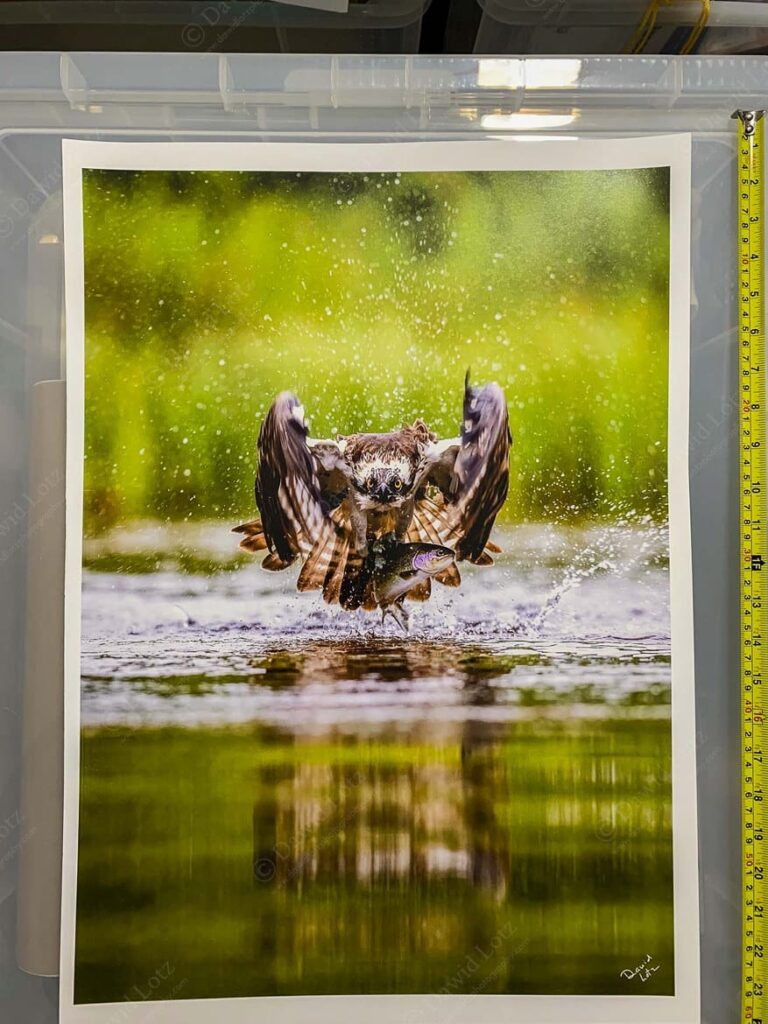
2022 — Osprey with fish A2 Epson Traditional Photo paper 295 for size and texture with sheen and clarity
2022 — Osprey with fish A2 Epson Traditional Photo paper 295 for detail photo of the print texture with sheen and clarity
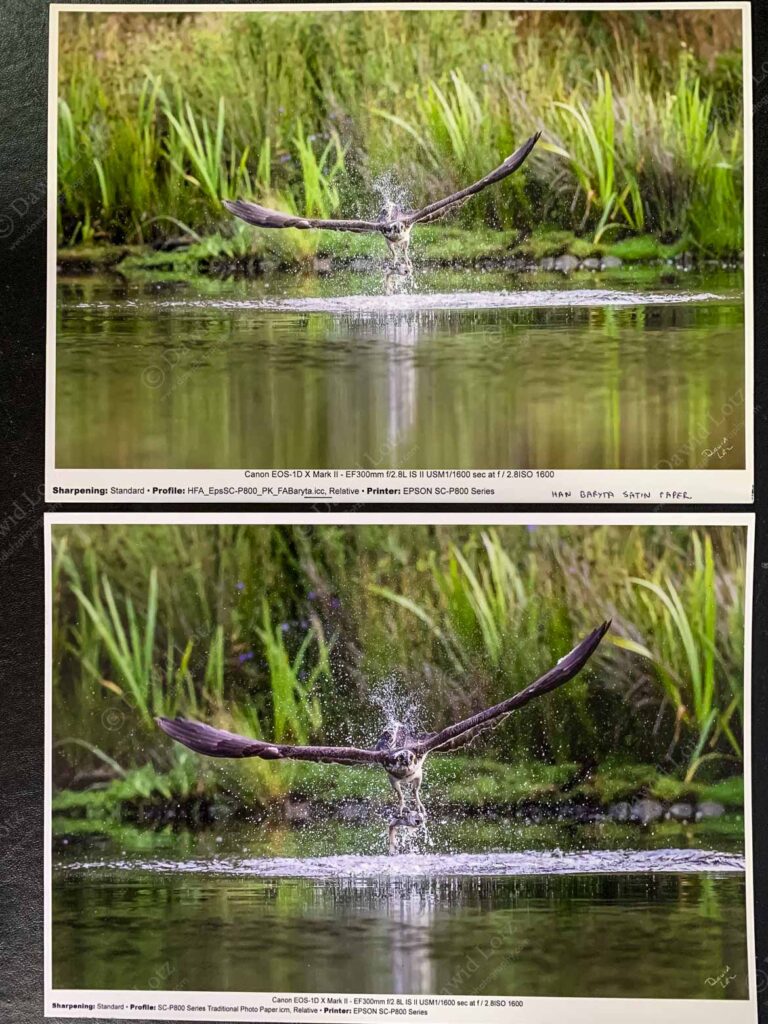
2022 — compare A4 Hanemuhle baryta satin and Epson traditional photo
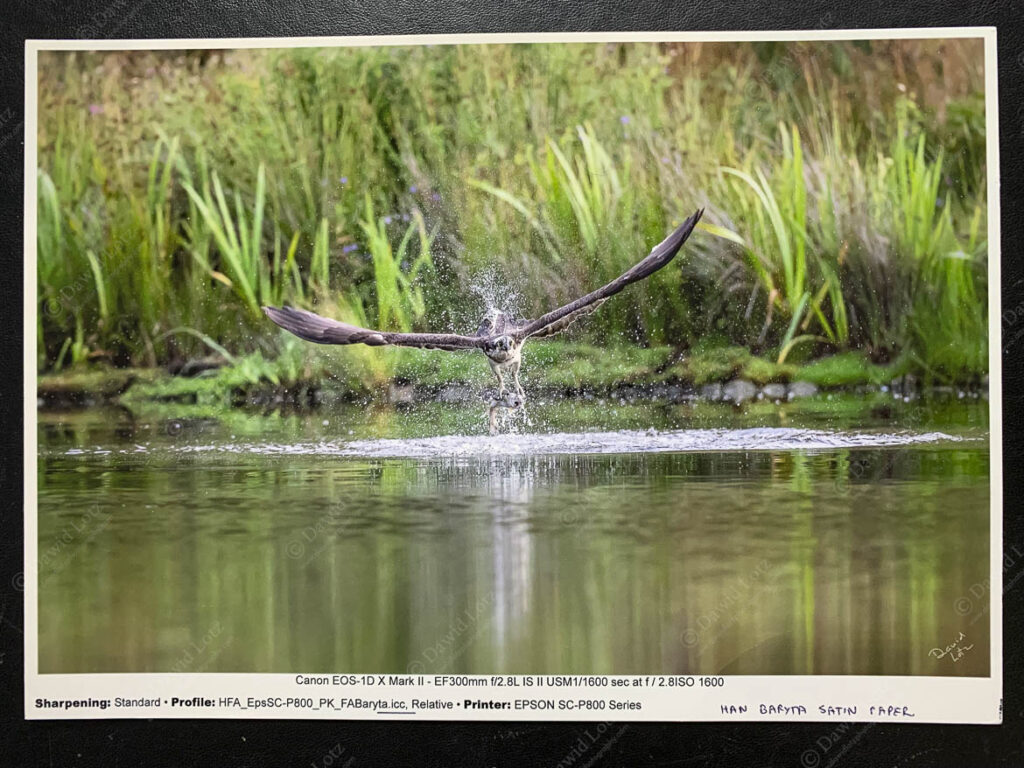
2022 — Osprey A4 Hahnemuhle baryta satin
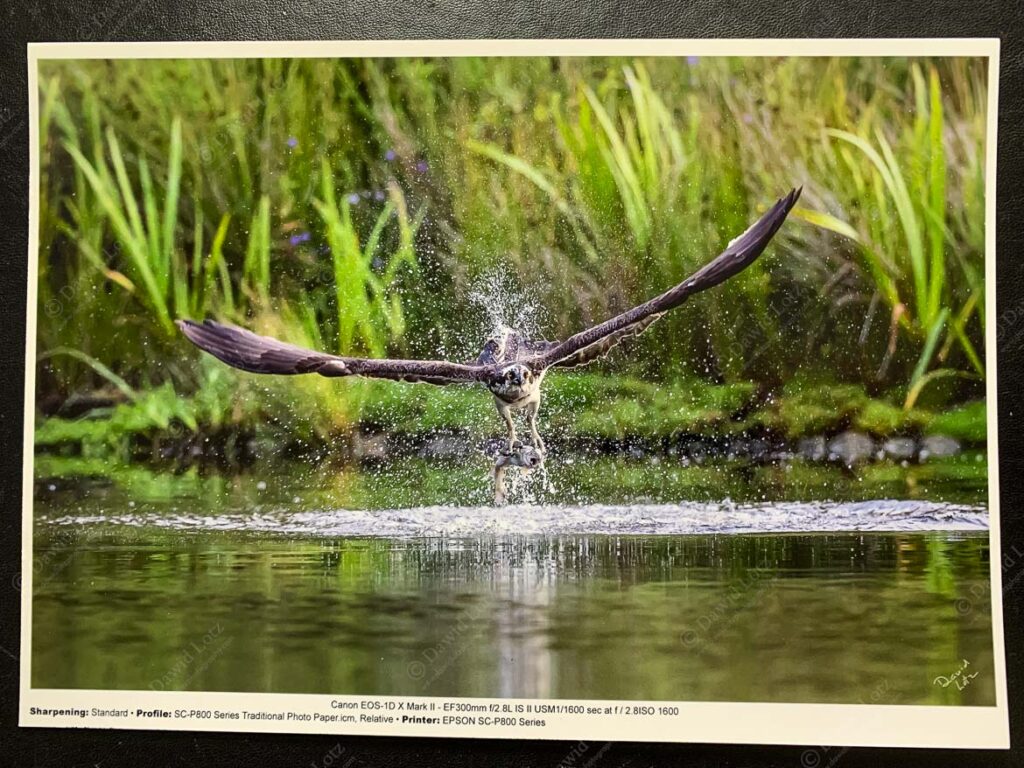
2022 — Osprey A4 Epson traditional photo
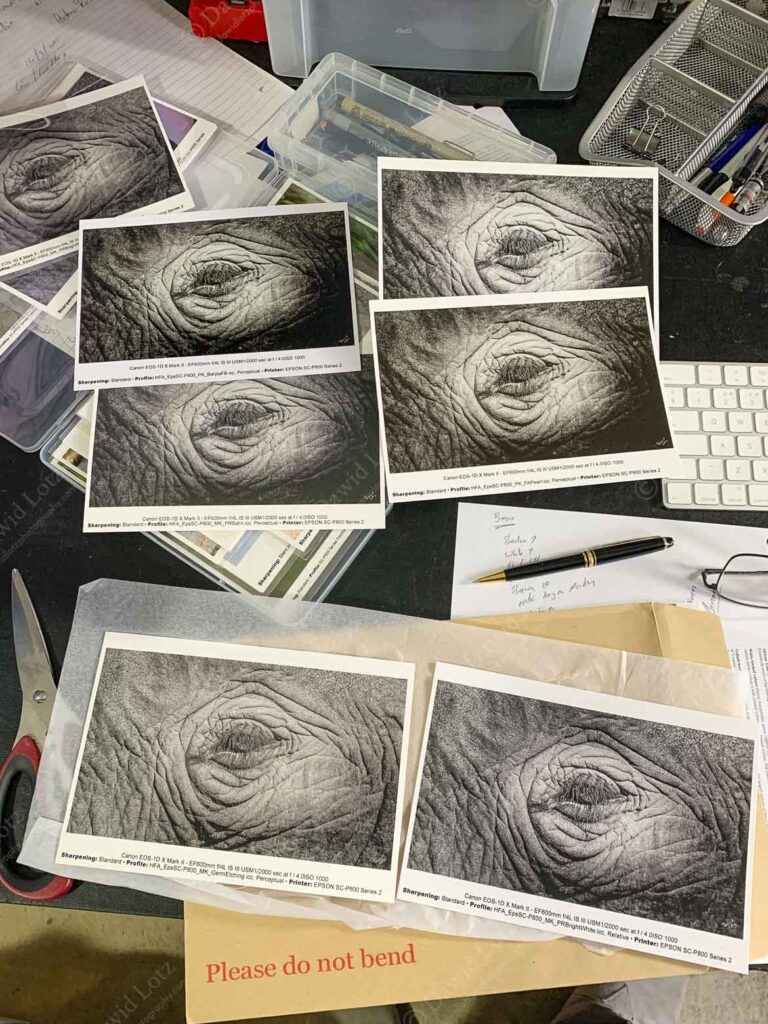
2022 — Elephant eye proofprints with different papers to find most appealing
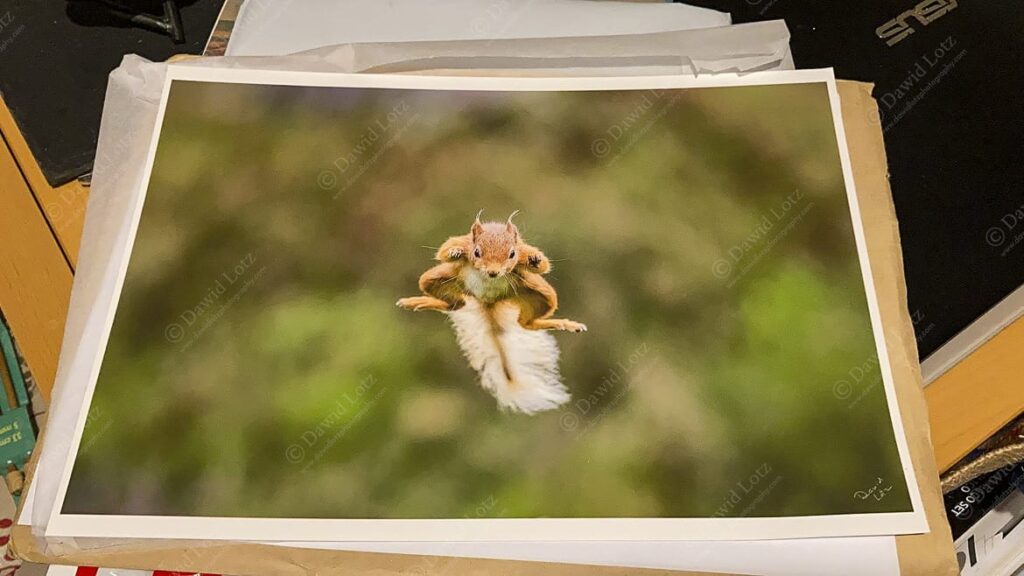
2022 — Jumping squirrel Hahnemuele Photorag 308 packaging
2022 — Hahnemuhle Photorag 308 with panorama table mountain packaged
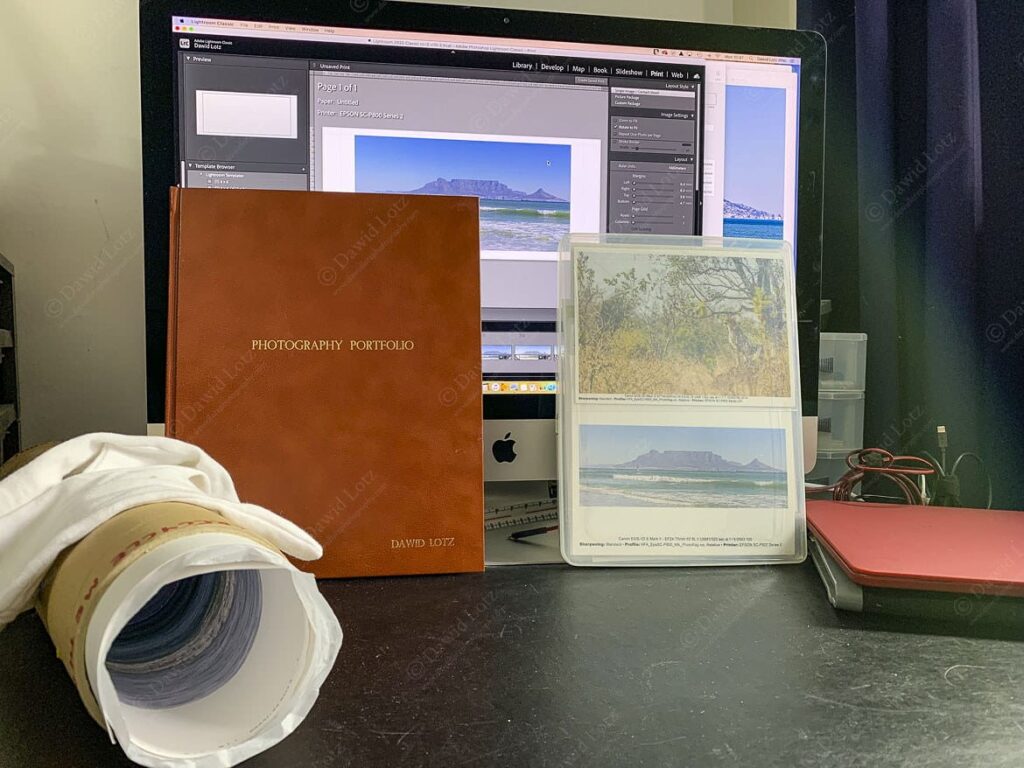
2022 — portfolio album and A5 polyester pockets with panorama table mountain packaged
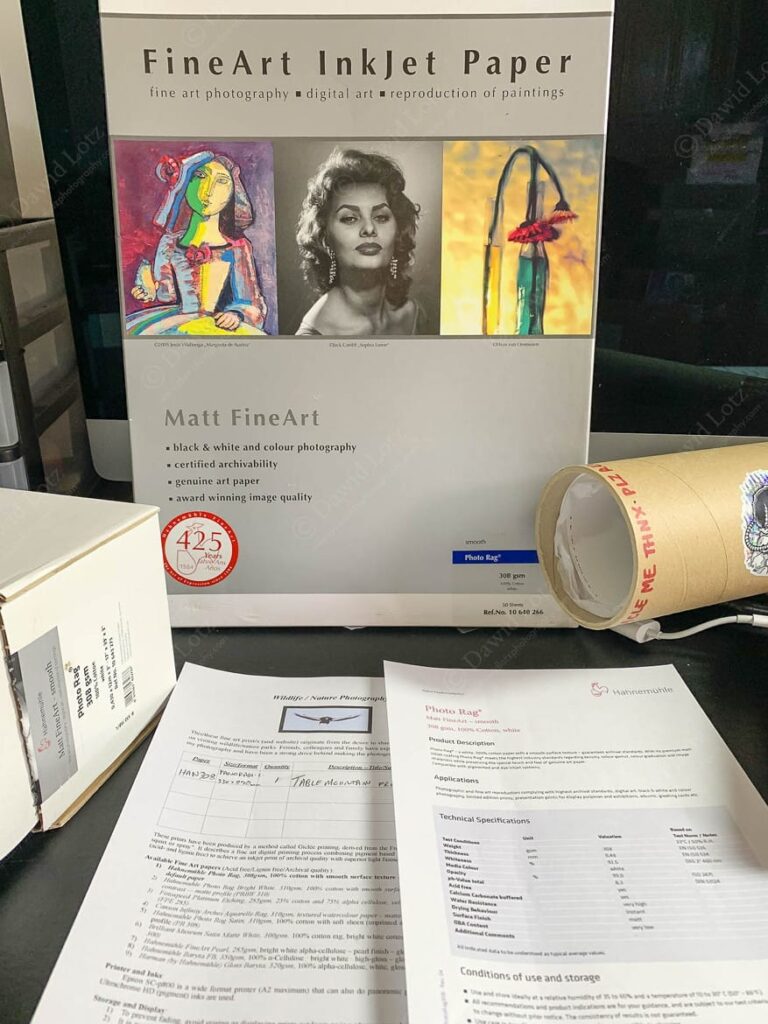
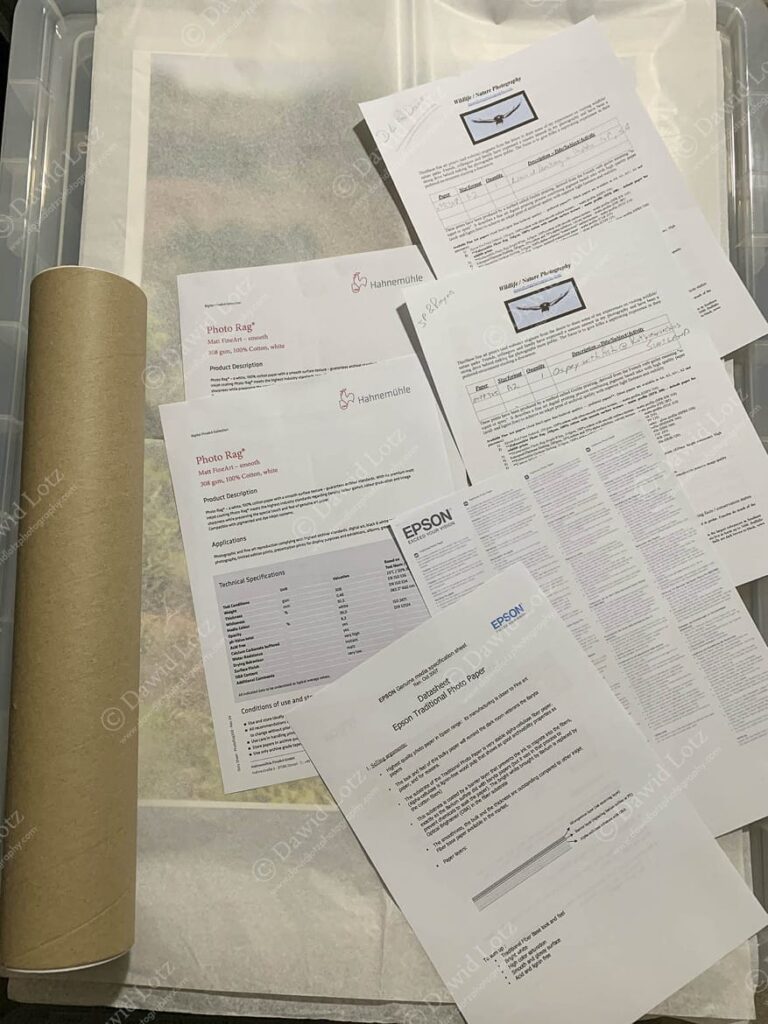
2022 — packaging and documentation
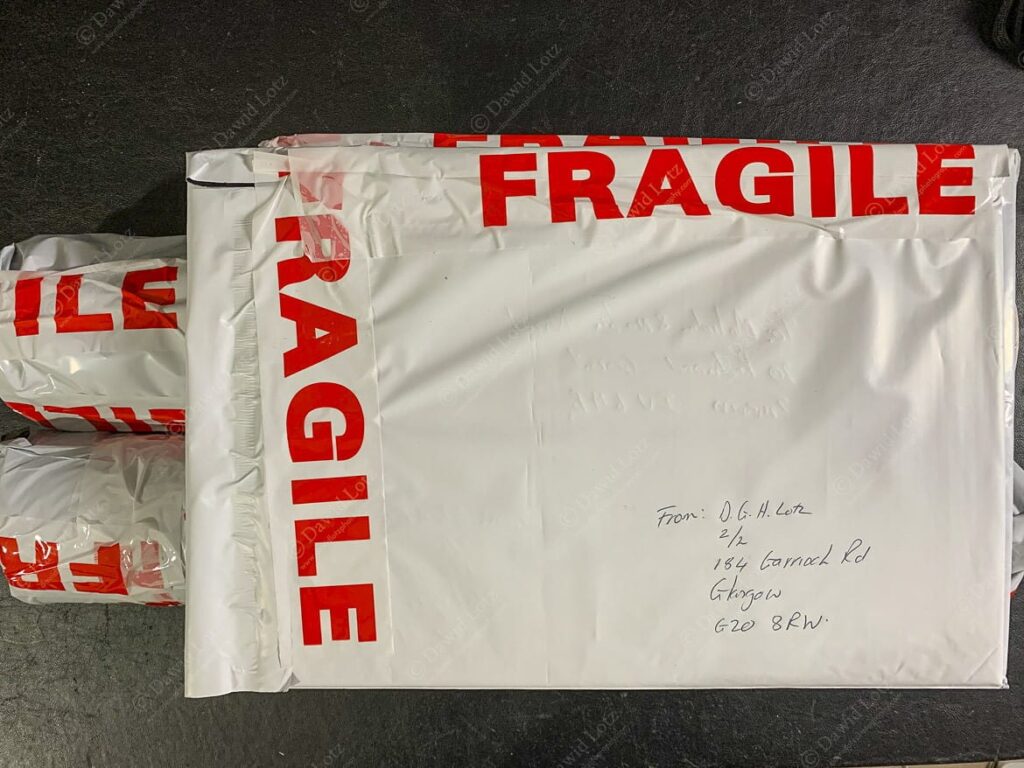
2022 — packaging
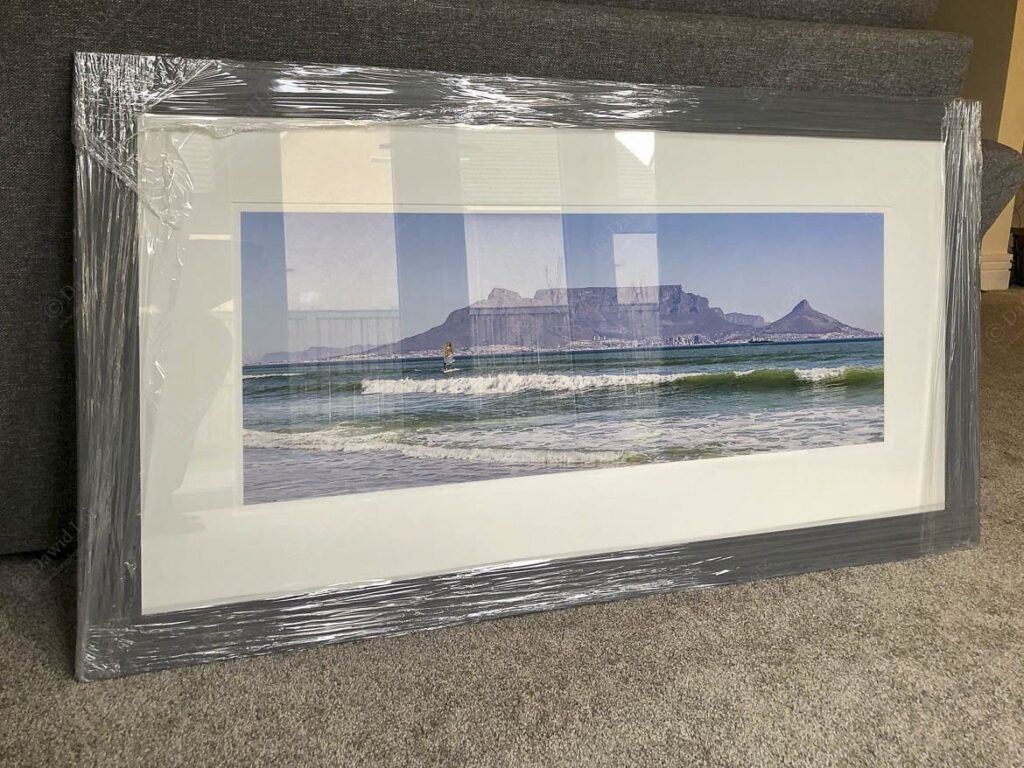
2022 — Approximate 1300mm table mountain framed packaged

My photographic process — from conception to print and packaging/shipment

This gallery is informative helping folks understand the process that will lead to them owning one of my a fine art prints — the photos in this gallery have mostly been taken with an iphone. They are photos of prints.

With African wildlife I prefer preparing well and having a variety of equipment available which I can choose from as the opportunity arises. Many images are deleted from the camera whilst still out shooting. Editing mostly happens in my office at home (ideal monitors,  software and lighting), but occasionally I do enjoy editing same day or on location after interesting images have been taken.

When images are chosen to go into galleries on the website they are prepared in a web/internet specific way as to minimise opportunists copying them (helps preserve copyright).

Once an image is selected for printing I’ll recheck its quality/printability. I might well invite the interested party to see my hardcover art album (and polyester pocketed fine art prints) to give them a better idea of the different papers available and what to expect from a paper/image combination, not forgetting the framing.

Different croppings and tones may be demonstrated in the “demo gallery” to help the interested party envisage exactly what to expect from the print when it hangs within their living space.

I do the high quality prints in my office where I have the best control over quality. I will likely print a A5 size proof on the intended paper. This is all done in dust free as possible environment.

The completed print is then allowed to dry and then wrapped in tissue paper with accompanying spec sheet of the fine art paper, some interesting information about the fauna/flora and how to care for the fine art print. The print is then placed in a tube (8 cm diameter cardboard tube) or envelope (C4 sized and cardboard backed) and inserted into a purpose made postage waterproof pocket (strong polythene plastic mailing bags). I have shipped abroad (USA/Australia) and have not had any issues with damage thus far.

I usually leave the interested party to decide on the framing/mountboard and museum/archival quality they prefer as this can work out quite expensive.

I would normally ask the receiving party whether they would then like to send me a good quality photo of the framed print — usually trying to include local decor to show how they have utilised it within their living space.

I have also included a few photos from “The Framing Workshop” in Glasgow (near end of Great Western Road) to illustrate what happens during framing (not included just yet).


NOTE: The galleries might contain more than 50 images. Loading might be slightly delayed due to good quality images being uploaded. Play slideshow by clicking on an image and then on the arrow in top right hand corner. Wave cursor over image to stop slideshow (image can enlarge to  fullscreen by clicking on box in top corner). For potential purchases its better to contact me via email please. Most functions and viewing is better on larger displays compared to phones.

Dawid2025-04-04T15:20:16+01:00

2022 — Setting up to do some black bears Chilkoot river Haines Alaska
2022 — Setting up to do some baldeagle flybys Eagle Beach Juneau Alaska
2022 — Editing and backing up Homer Spit Alaska
2022 — editing and printing process
2022 — Hahnemuhle Photorag 308 panoramic 900mm wide printing process
2022 — Hahnemuhle Photorag 308 A5 texture
2022 — Lion A2 Printing of hahnemuele Photorag 308
2022 — Lion A2 hahnemuele Photorag 308 completed print for texture and clarity
2022 — Osprey with fish A2 Epson Traditional Photo paper 295 printing process
2022 — Osprey with fish A2 Epson Traditional Photo paper 295 for size and texture with sheen and clarity
2022 — Osprey with fish A2 Epson Traditional Photo paper 295 for detail photo of the print texture with sheen and clarity
2022 — compare A4 Hanemuhle baryta satin and Epson traditional photo
2022 — Osprey A4 Hahnemuhle baryta satin
2022 — Osprey A4 Epson traditional photo
2022 — Elephant eye proofprints with different papers to find most appealing
2022 — Jumping squirrel Hahnemuele Photorag 308 packaging
2022 — Hahnemuhle Photorag 308 with panorama table mountain packaged
2022 — portfolio album and A5 polyester pockets with panorama table mountain packaged
2022 — packaging and documentation
2022 — packaging
2022 — Approximate 1300mm table mountain framed packaged

My photographic process — from conception to print and packaging/shipment

This gallery is informative helping folks understand the process that will lead to them owning one of my a fine art prints — the photos in this gallery have mostly been taken with an iphone. They are photos of prints.

With African wildlife I prefer preparing well and having a variety of equipment available which I can choose from as the opportunity arises. Many images are deleted from the camera whilst still out shooting. Editing mostly happens in my office at home (ideal monitors,  software and lighting), but occasionally I do enjoy editing same day or on location after interesting images have been taken.

When images are chosen to go into galleries on the website they are prepared in a web/internet specific way as to minimise opportunists copying them (helps preserve copyright).

Once an image is selected for printing I’ll recheck its quality/printability. I might well invite the interested party to see my hardcover art album (and polyester pocketed fine art prints) to give them a better idea of the different papers available and what to expect from a paper/image combination, not forgetting the framing.

Different croppings and tones may be demonstrated in the “demo gallery” to help the interested party envisage exactly what to expect from the print when it hangs within their living space.

I do the high quality prints in my office where I have the best control over quality. I will likely print a A5 size proof on the intended paper. This is all done in dust free as possible environment.

The completed print is then allowed to dry and then wrapped in tissue paper with accompanying spec sheet of the fine art paper, some interesting information about the fauna/flora and how to care for the fine art print. The print is then placed in a tube (8 cm diameter cardboard tube) or envelope (C4 sized and cardboard backed) and inserted into a purpose made postage waterproof pocket (strong polythene plastic mailing bags). I have shipped abroad (USA/Australia) and have not had any issues with damage thus far.

I usually leave the interested party to decide on the framing/mountboard and museum/archival quality they prefer as this can work out quite expensive.

I would normally ask the receiving party whether they would then like to send me a good quality photo of the framed print — usually trying to include local decor to show how they have utilised it within their living space.

I have also included a few photos from “The Framing Workshop” in Glasgow (near end of Great Western Road) to illustrate what happens during framing (not included just yet).


NOTE: The galleries might contain more than 50 images. Loading might be slightly delayed due to good quality images being uploaded. Play slideshow by clicking on an image and then on the arrow in top right hand corner. Wave cursor over image to stop slideshow (image can enlarge to  fullscreen by clicking on box in top corner). For potential purchases its better to contact me via email please. Most functions and viewing is better on larger displays compared to phones.
DLP logo

Useful Links

  • FAQs
  • Cookie Policy
  • Terms & Conditions
  • Privacy Policy

Quick Links

  • Recent Activity
  • Visitor Info
  • Acknowledgements
  • Contact Me

Contact Info

  • +44 (0) 7729929233

  • [email protected]

© 2024 Dawid Lotz Photography. All rights reserved.
payment-options
Page load link
We use cookies to ensure that we give you the best experience on our website. If you continue to use this site we will assume that you are happy with it.Ok
Go to Top